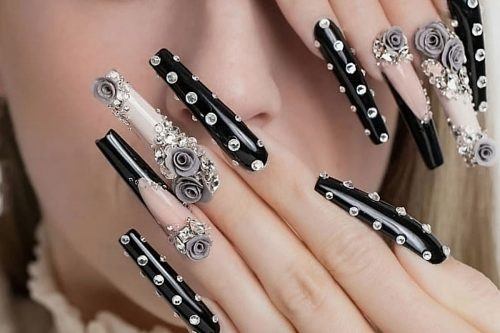
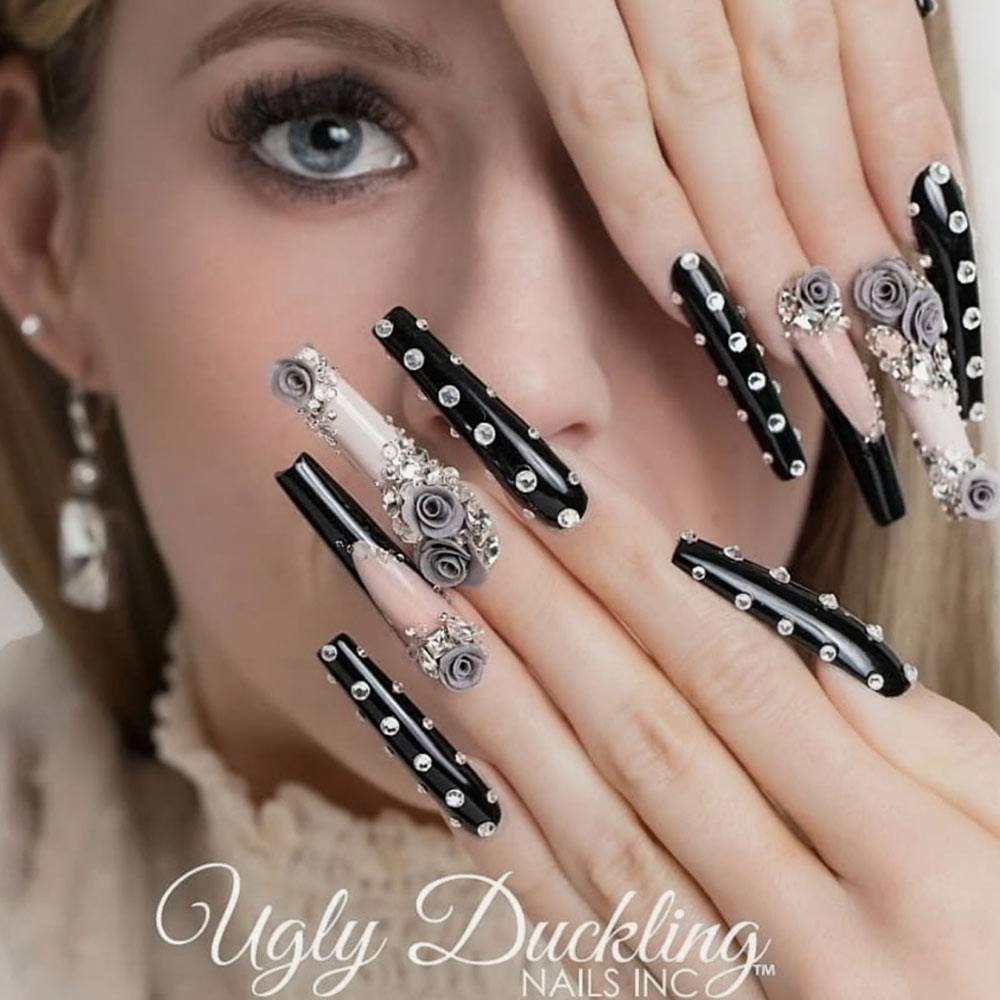
To wear bling or not to wear bling nails enhancements?! My answer is simple, absolutely yes! Is there such a thing as too much bling or too little? Well, I know there is something just right for each client. So, if you still deprive your clients of such luxury as a bling manicure, then let me convince you to do otherwise.
Why Choose Bling Nails
Credit photo: Instagram.com/chrystacleAs a nail tech myself, not too long ago I was not familiar with how to apply bling to the nails or how to create a design, what products to use and how to have them stay on. Ultimately, this intimidated me and I never offered this as a service to my clients. Man, not only were they missing out, but I was missing out! I have always had an eye for sparkle and to put it lightly, I am obsessed with Bling.
For those who don’t know, this is where my name Chrystacle came from and the name I choose to use in the industry today. So, why not bling nails out, be it your client’s or your own, so that everyone is wishing they had a little sparkle too?! That is my motto. But for me and my work, I choose to go big or go home.
Credit photo: Instagram.com/chrystacleYou will rarely see on my social media pages, nails that have no bling. That being said, I do compromise with my clients (from time to time, hehe) to do the absolute bare minimum, but at least one nail needs that sparkle factor! I am noticing more and more with the better products/tools available in the industry, more nail techs are using crystals on their client’s nails.
How Do You Decide What Bling To Use And When?
Credit photo: Instagram.com/chrystacleThe first thing to consider is how long are the nails you are doing, whether it is going to be bling stiletto nails or short red bling nails. Also, consider where the placement of the crystals will go and what design you will be creating. Once that is determined between you and the client, the magic begins.
Most Popular Blings And How To Apply Them
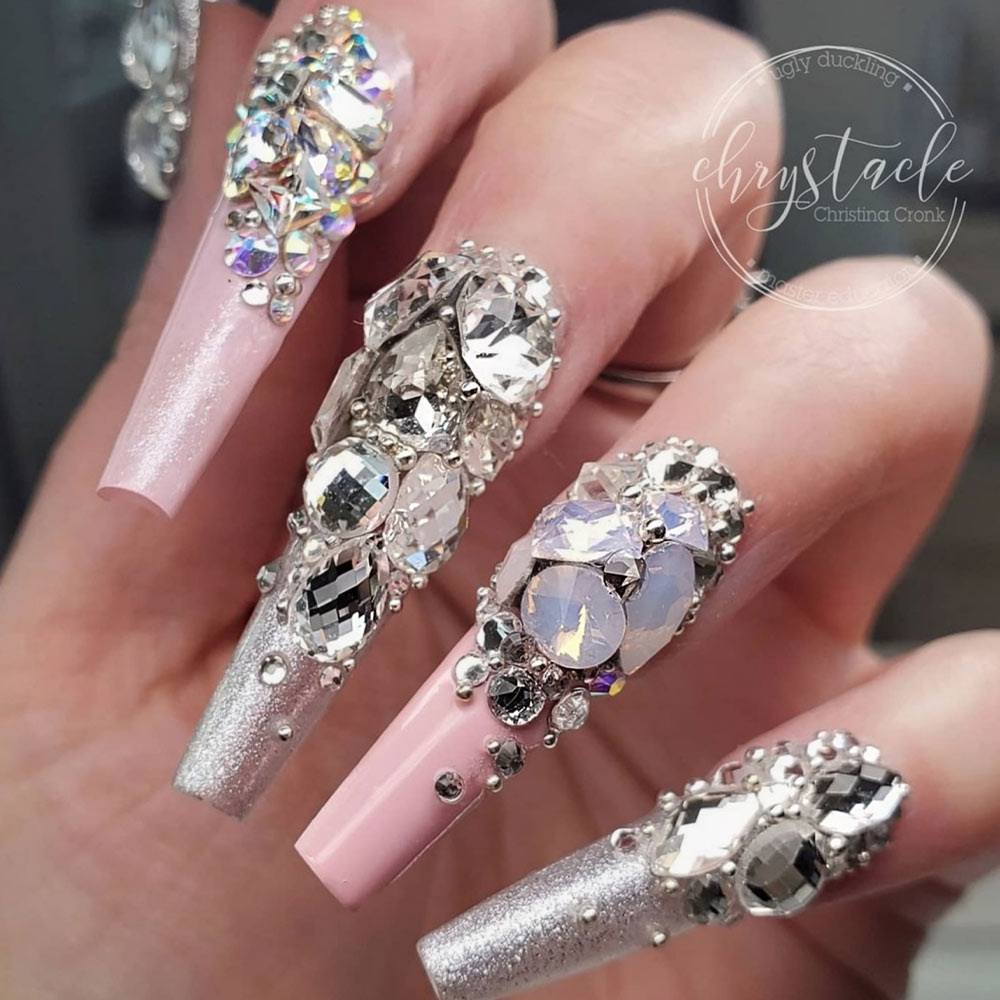
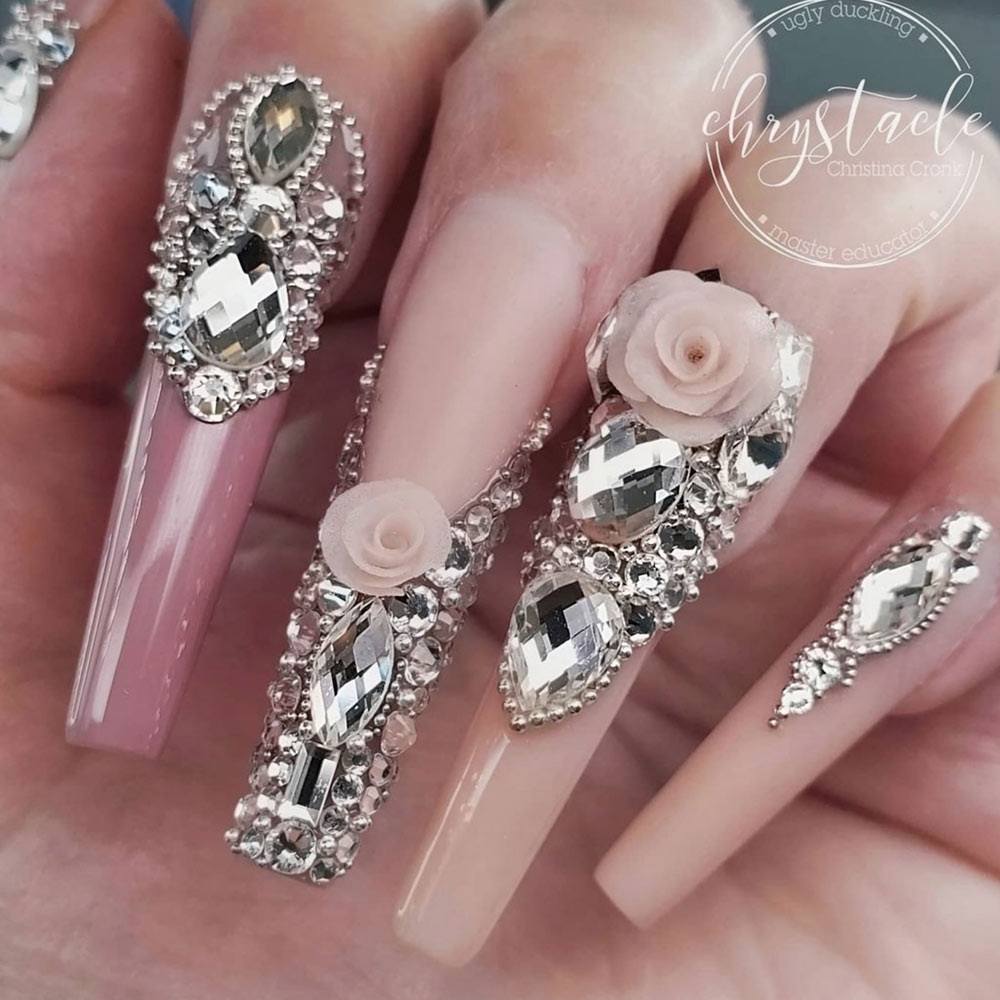
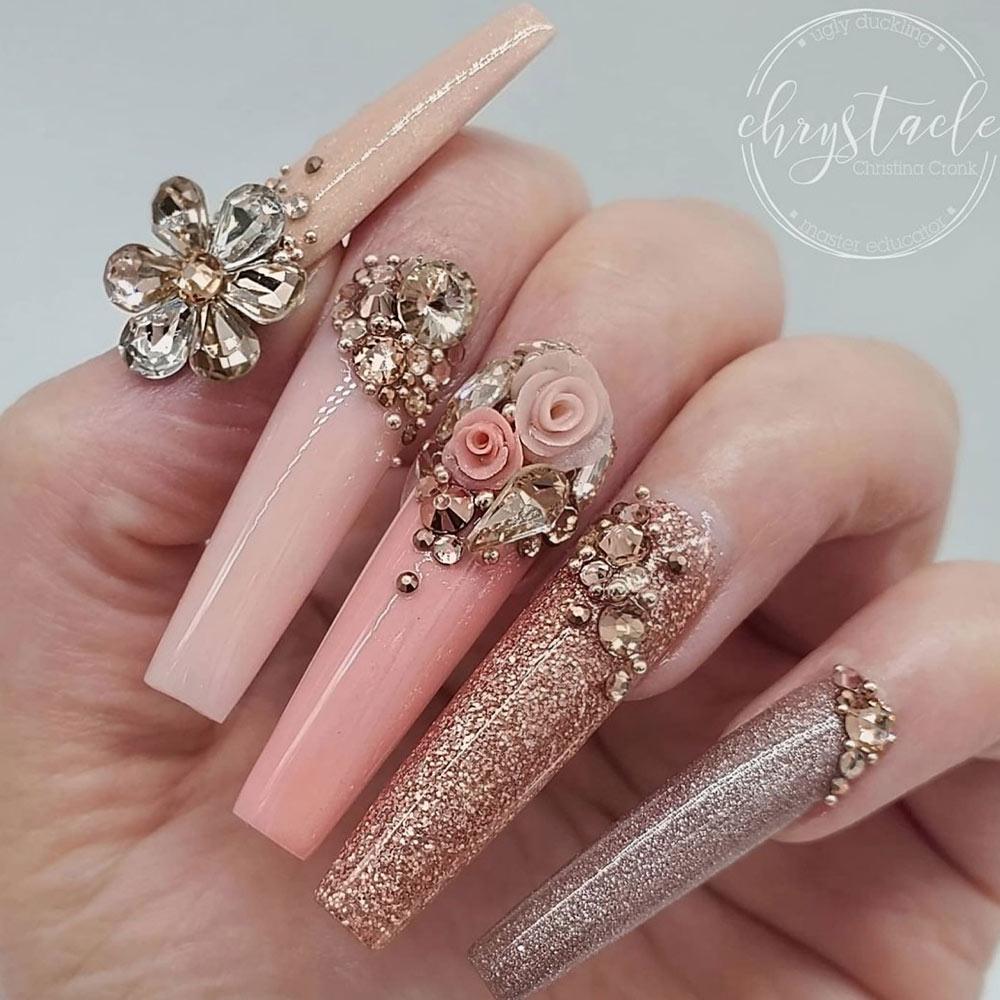
Credit photo: Instagram.com/chrystacleThe most popular way to bling up nails would be crystal application around the cuticle area, in my opinion. Not only is it a simple application, but it is clean and dainty looking, which is ideal for many clients, especially those who prefer cute bling nails. When working with cuticle design, my best advice is to always start with the largest stone in the center of the cuticle area and work your way down using smaller crystals. I also love to use small beads to fill in the small spaces between each crystal. This helps to finish off the design for a more complete look.
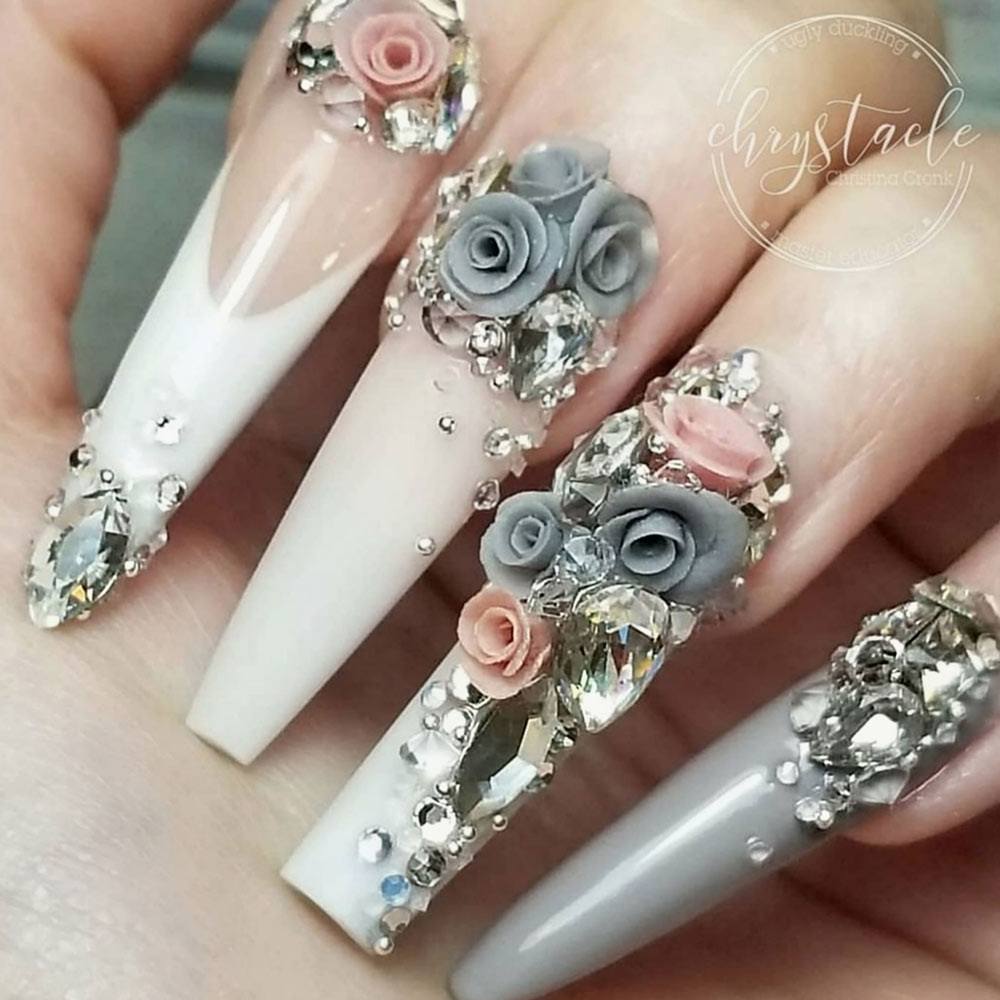
Credit photo: Instagram.com/chrystacleWhen doing large clusters, it is very important to start with the largest crystals (or embellishments/roses) in the middle and work your way out, filling in all the gaps and holes with smaller crystals and even using little beads. Using smaller crystals to fade out your bling acrylic nails design not only finishes it off nicely but as you get closer to the free edge or sidewalls, it creates a slimmer look to the design, which is particularly important for bling coffin nails. If you were to use large crystals on the sides of the nail, it will give the nail enhancement a bulkier look. Filling in all gaps is very important to avoid having the design get caught, especially in the hair. Using larger crystals to create bling for nails is not a popular choice among clients, as it is more of a high fashion glamor look.
For those just starting to use crystals, my advice would be to allow yourself the time to apply and create your bling nails. Crystal application takes patience not only to create the design but also to pick up and place each tiny crystal. The job may seem tedious, but the reward is sparktackular. So, let your inner designs shine on both natural and acrylic nails with bling!!
FAQ: Bling Nails
How to attach crystals on nails?
- Apply small drops of resin glue with a brush.
- With a help of a special tool for crystals, put the crystal right on top of the drops and press lightly.
Spray them. - Use gummy jelly or nail rhinestone adhesive gel for larger crystals.
- Apply a thin layer of gel with a brush.
- Apply top coat on top, don’t cure. Then throw the gems on and then cure for one minute.
How to attach bling on nails?
- Use special adhesive gels for larger embellishments, which are thicker in their consistency.
- Apply them in one big drop and drown the embellishment in it. Cure for one minute.
- Add the topcoat around the crystals and cure again.
Was this article helpful?


