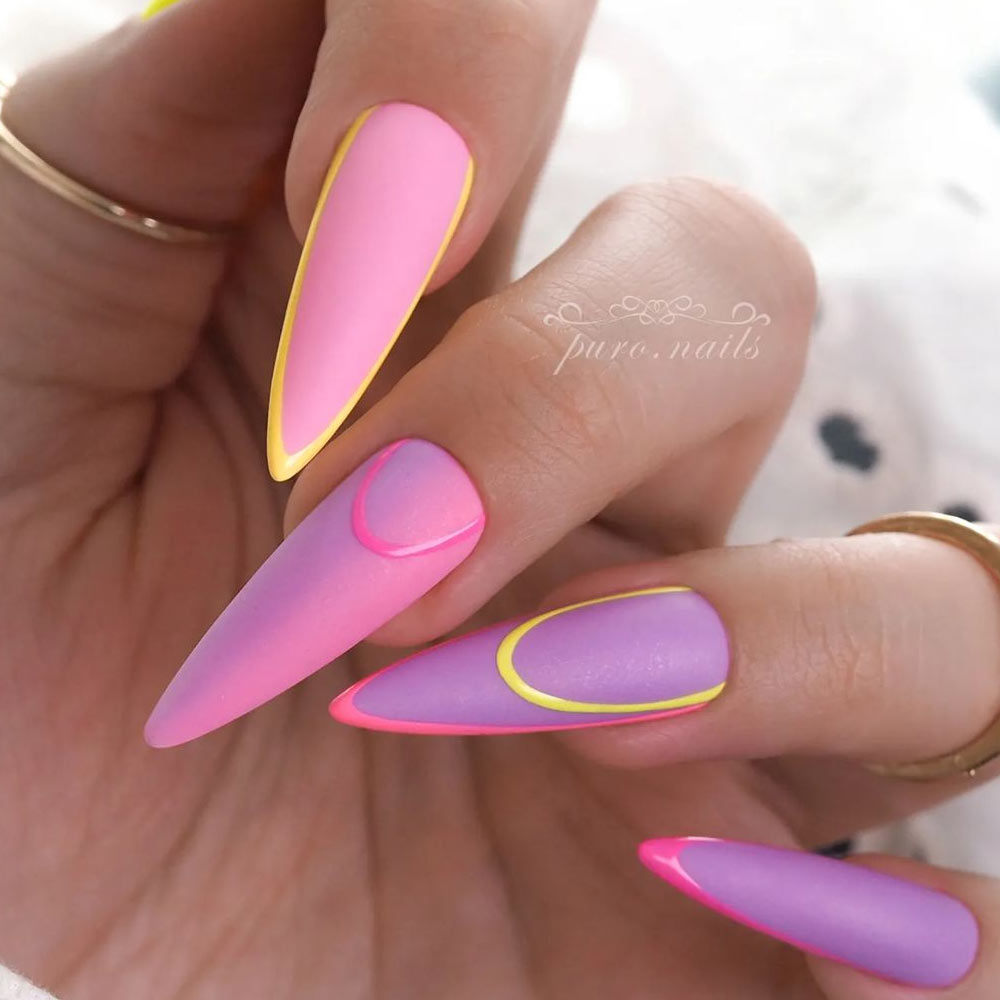
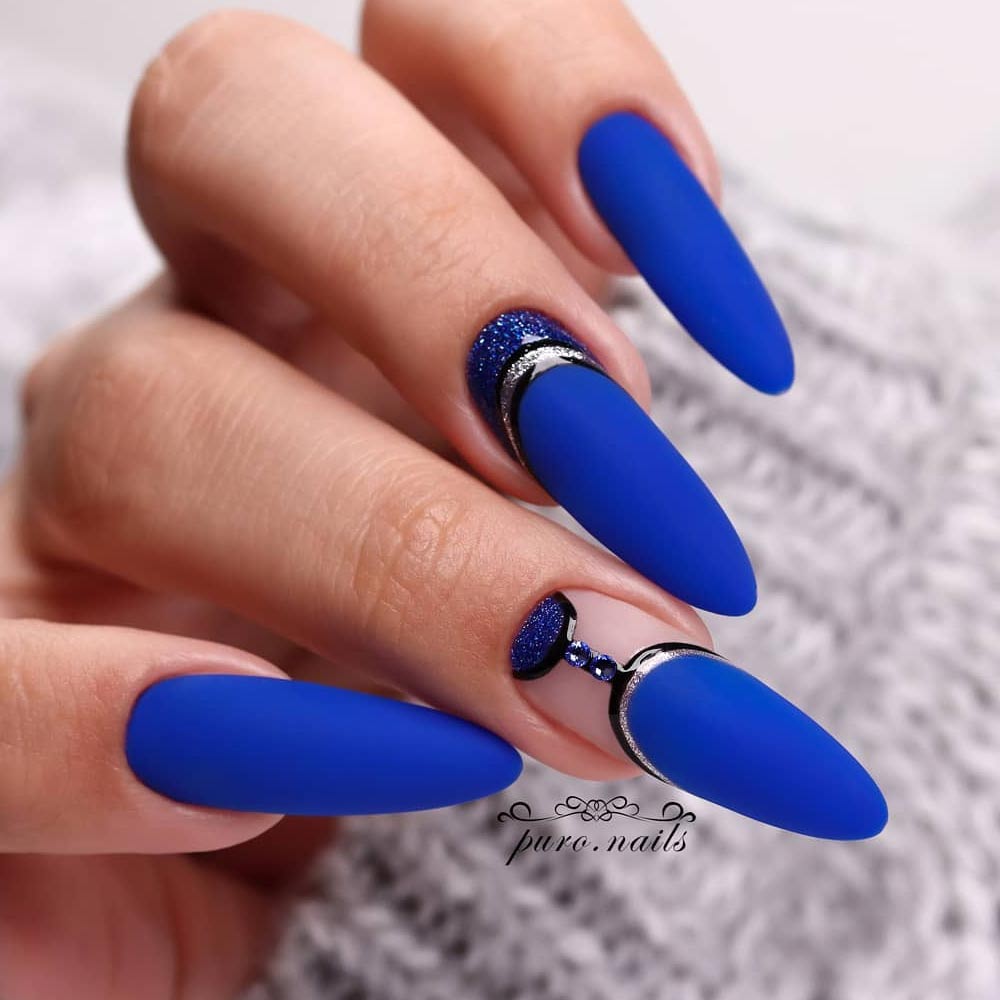
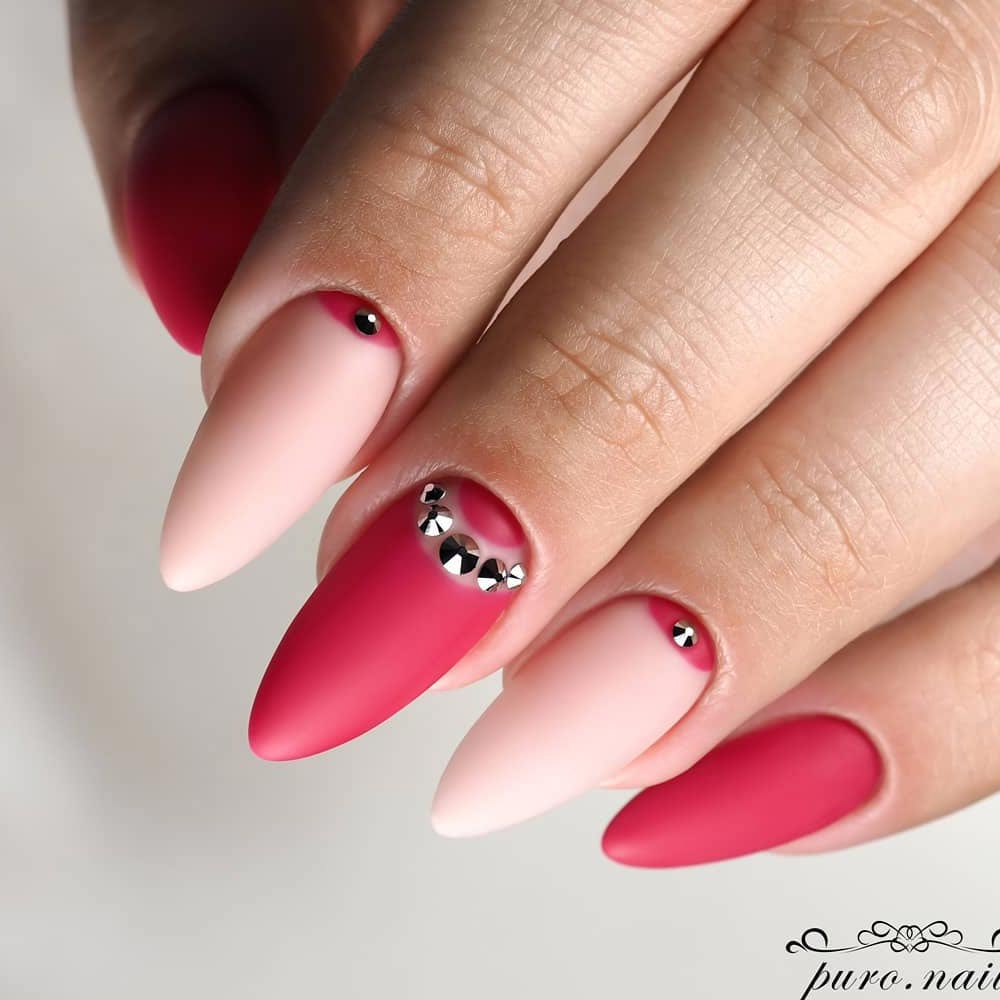
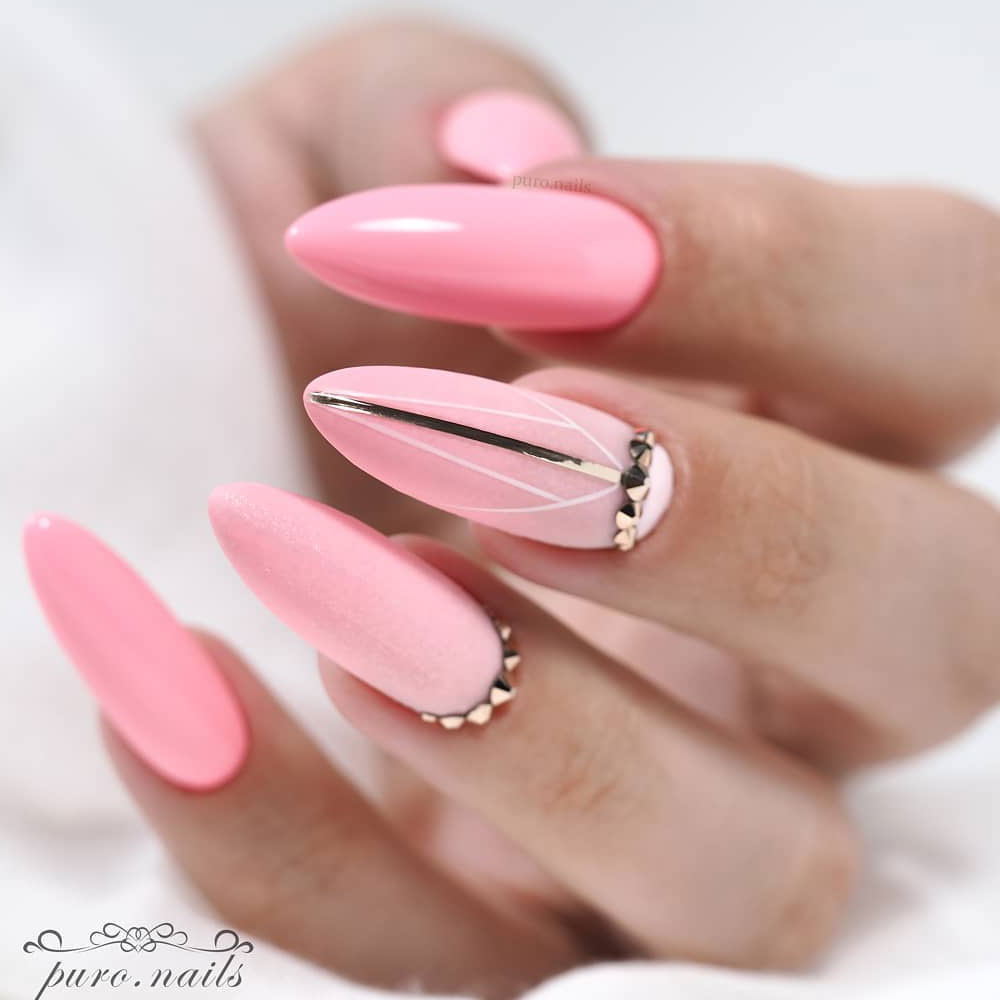
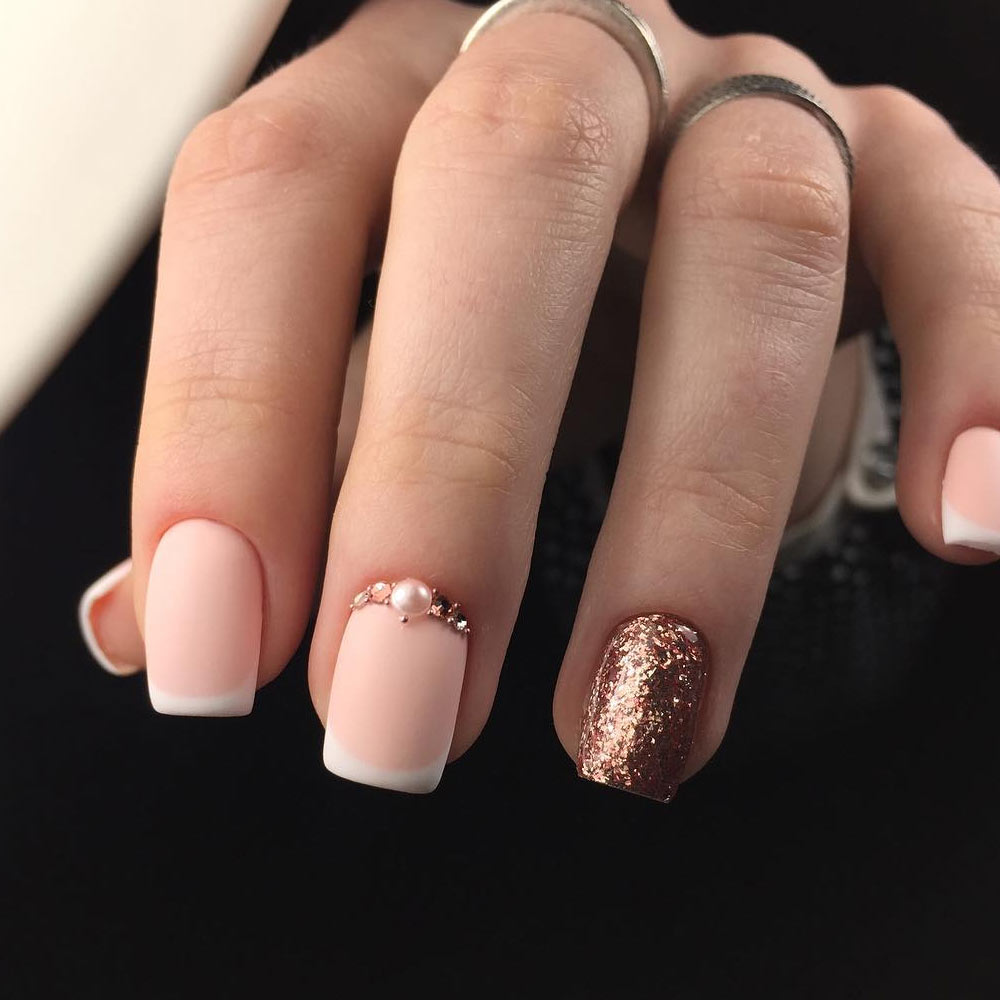
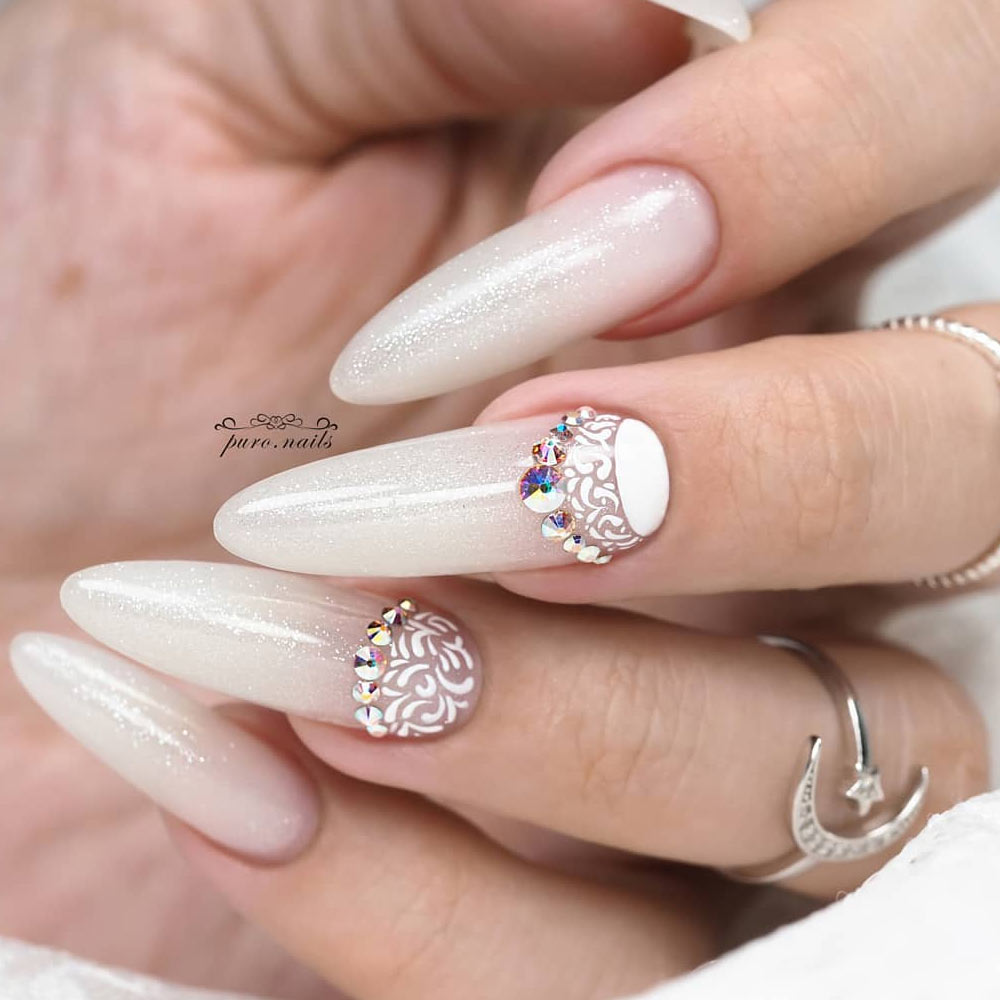
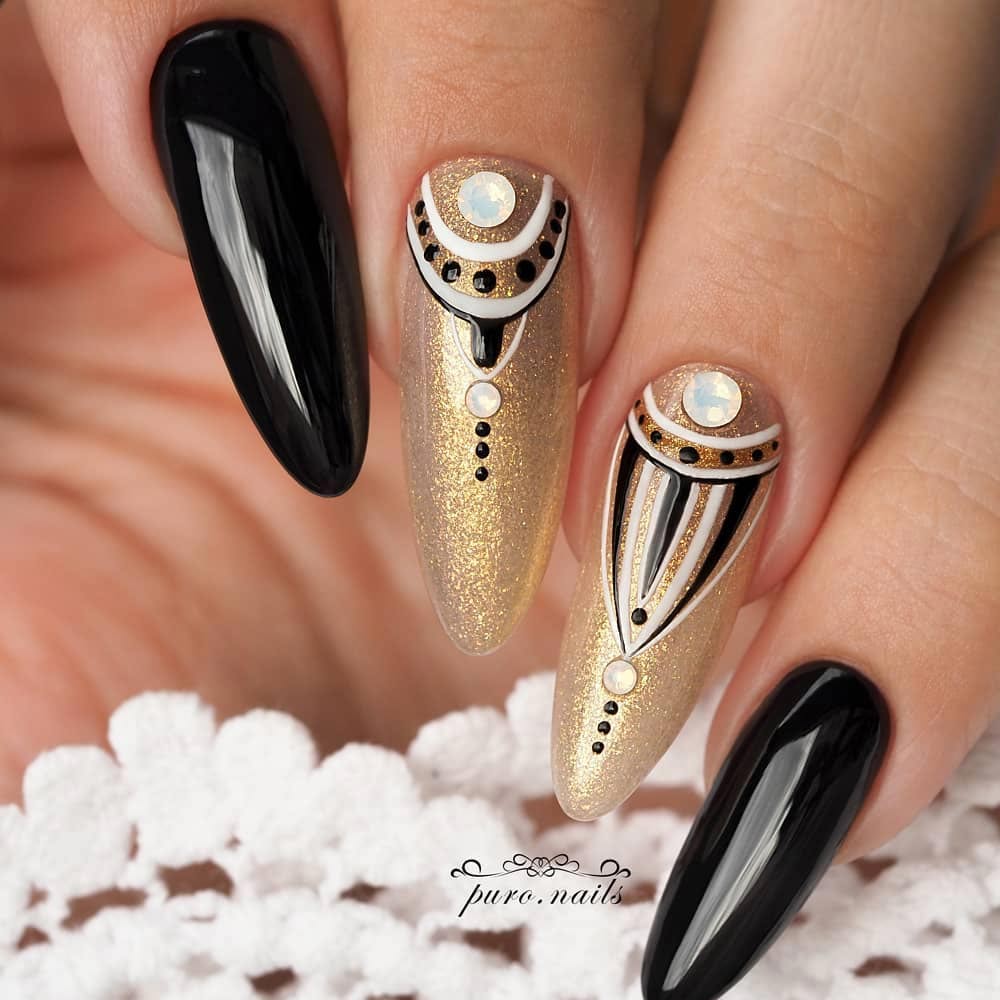
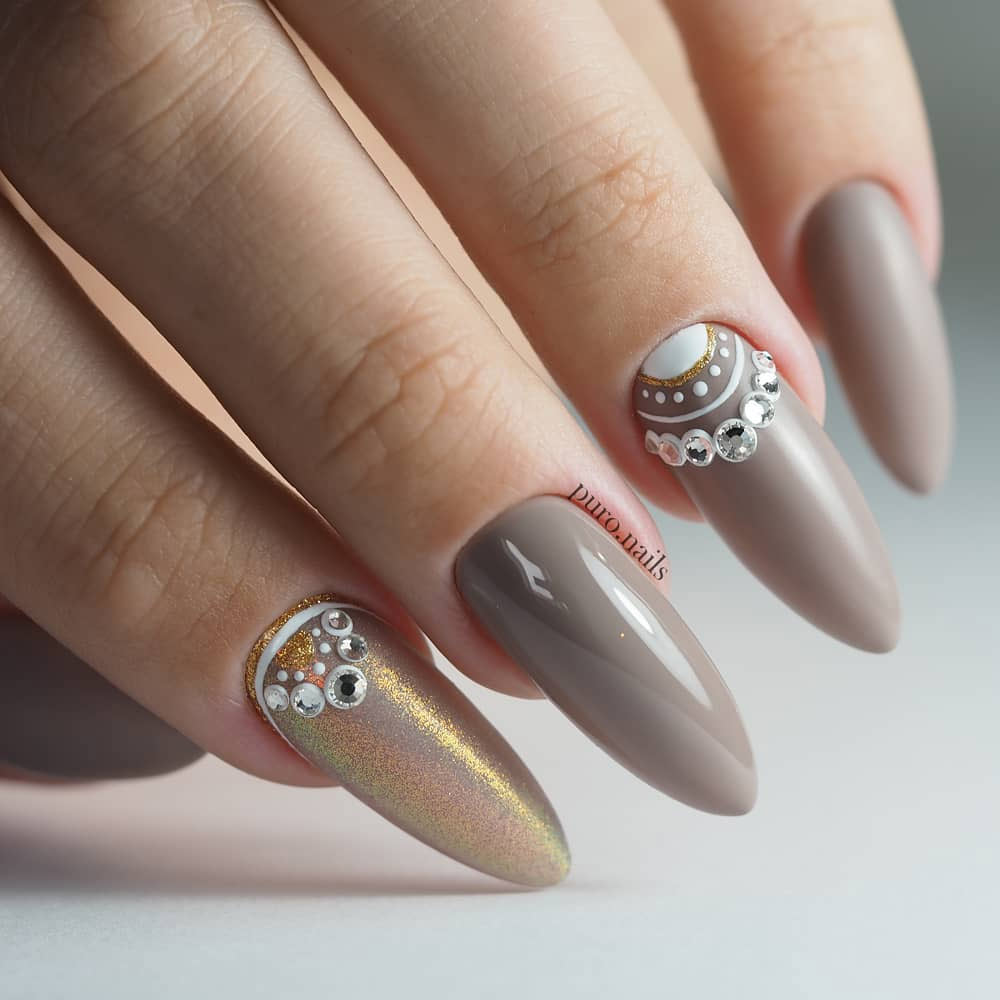
The beauty of the half moon nails is in the ability to use multiple contrasting colors in one mani without being afraid that it will look over the top. Plus, the half moon shape gives your nail style an unusual twist, making it the focal point of the look. While the design may appear quite complex, it is actually pretty easy to do, especially when you know some expert tips and tricks. To help you slay this stunning manicure style, we have prepared the following guide with the most fascinating half moon nail ideas.
- What is a Half Moon Nails Trend?
- Tips on Creating Perfect Half Moon Nails
- Half Moon Nails with Rhinestones
- Reverse Half Moon Nails
- Half Moon Nails with Patterns
What is a Half Moon Nails Trend?
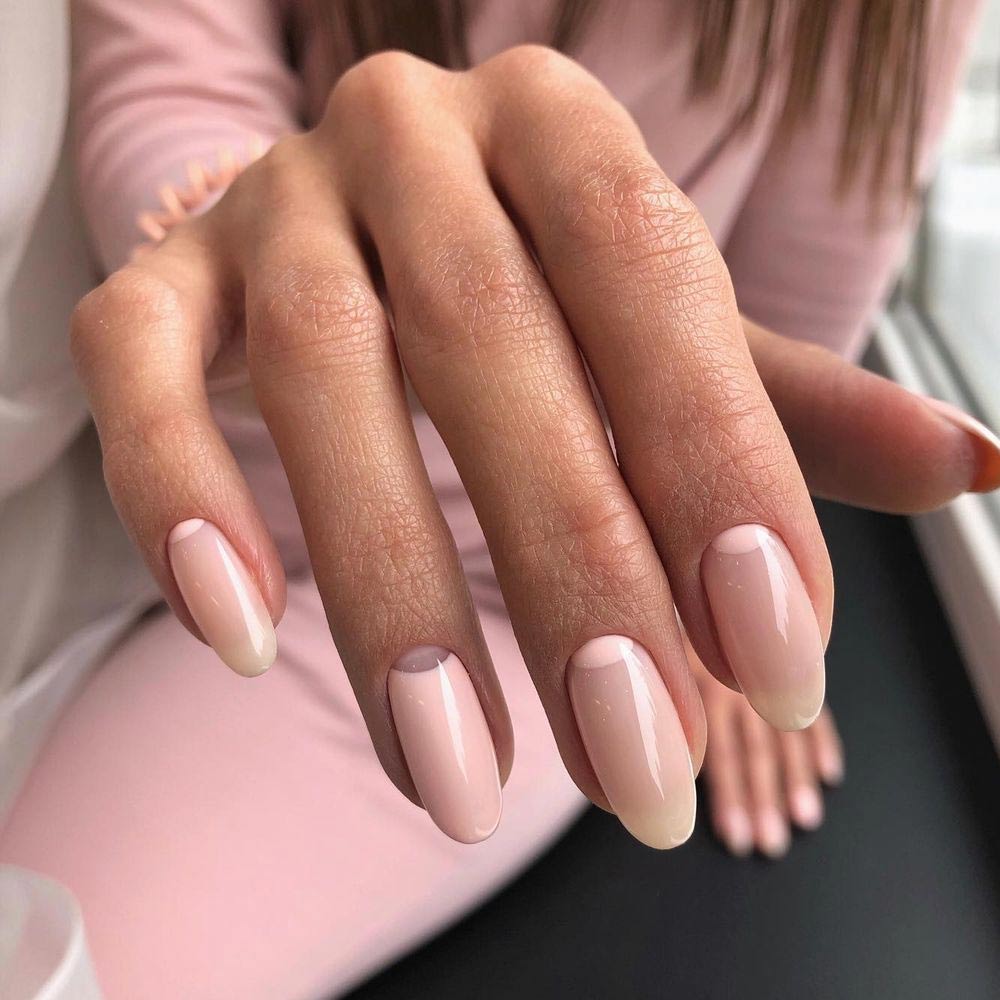
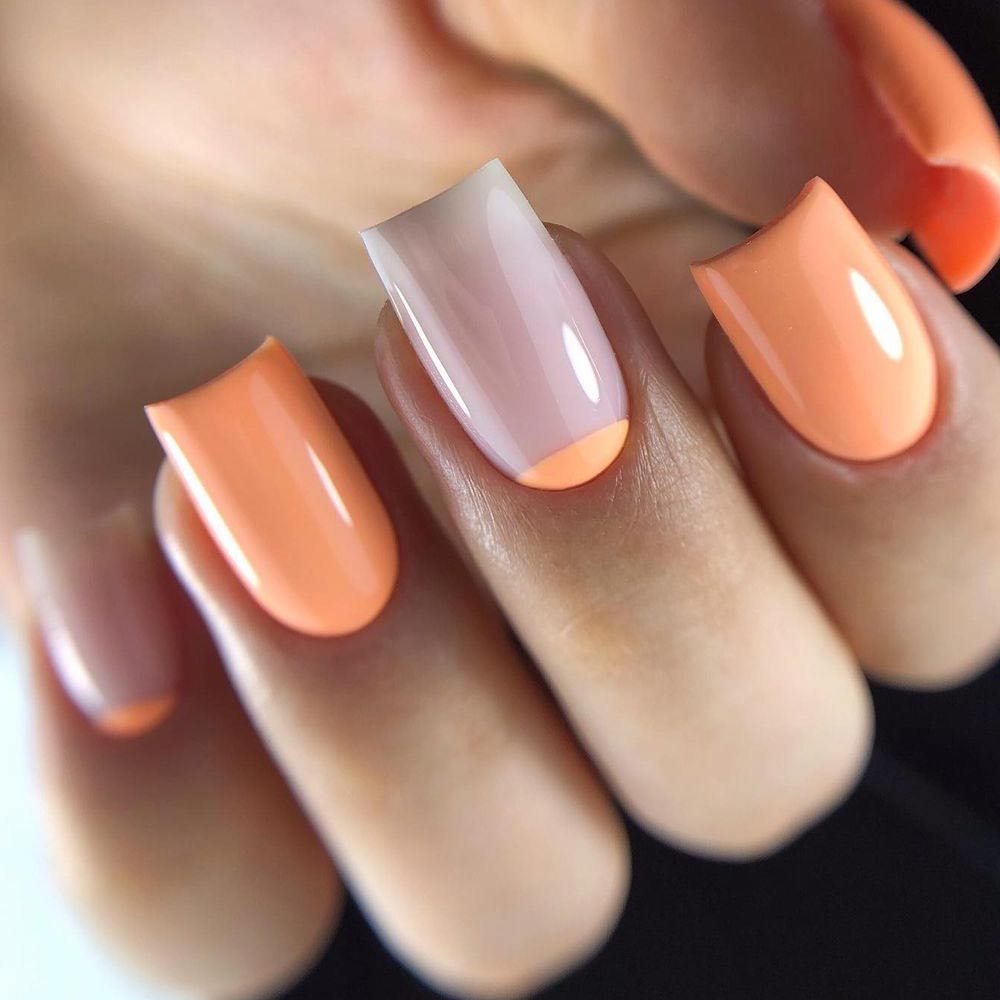
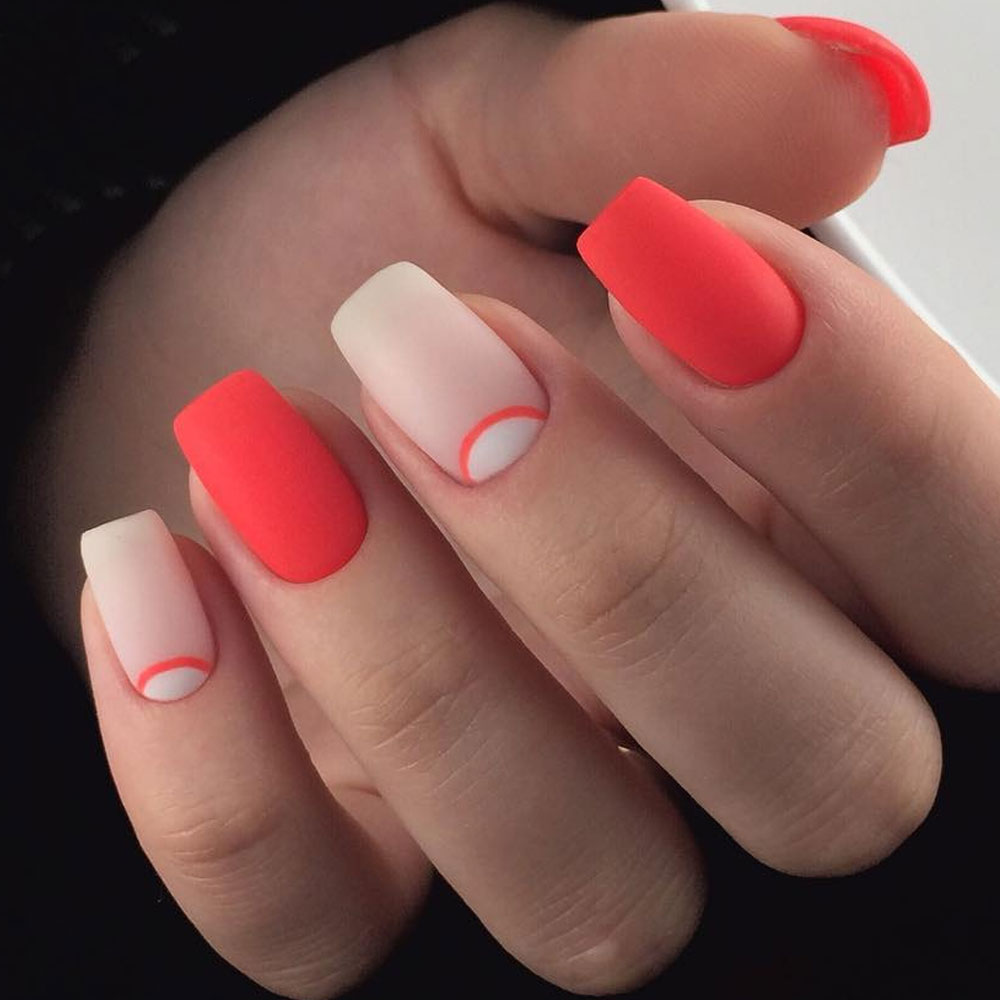
If you are not sure what half moon nails are, we will give you quick heads up. This is a manicure style that features two nail colors in high contrast shades. One color is applied to the whole nail except for the area near the nail base. The other color fills in the remaining area. Optionally, it can also be left clean. As such, you get a nail print that resembles a half moon.
The trend is not recent though. It appeared at the beginning of the 20s in the last century. Yet, it still does not lose its popularity. The half moon nails design is essentially opposite to a French mani, which suggests applying a half moon to the nail tip.
It is now one of the hottest nail trends on SM. So, if you have decided to go for it, you will not be disappointed. There are plenty of ways to pull off this mani style, but the main condition is to use nail polish shades that create contrast.
Tips on Creating Perfect Half Moon Nails
To make sure you achieve the best result with your manicure, here are some pro tips on half moon nails.
- Make the shape of your nail rounded or pointy using clippers and a nail file.
- Get rid of any oil and dirt residue by washing the hands with soap.
- Apply a generous layer of base polish.
- Apply a layer of nail polish that is going to be the half moon.
- Allow your nails to fully dry before moving to the next step.
- Stick a half moon stencil to the nail base and apply a layer of another nail color to the rest of the nail.
- Wait until the coating is fully dry and take the stencil away.
- Finish off with a layer of top coat to improve and protect the design.
While it is not necessary to use a stencil for the half moon shape, it will make things much easier, as you need a lot of skill and a sturdy hand to apply the polish precisely without messing it up.
Half Moon Nails with Rhinestones
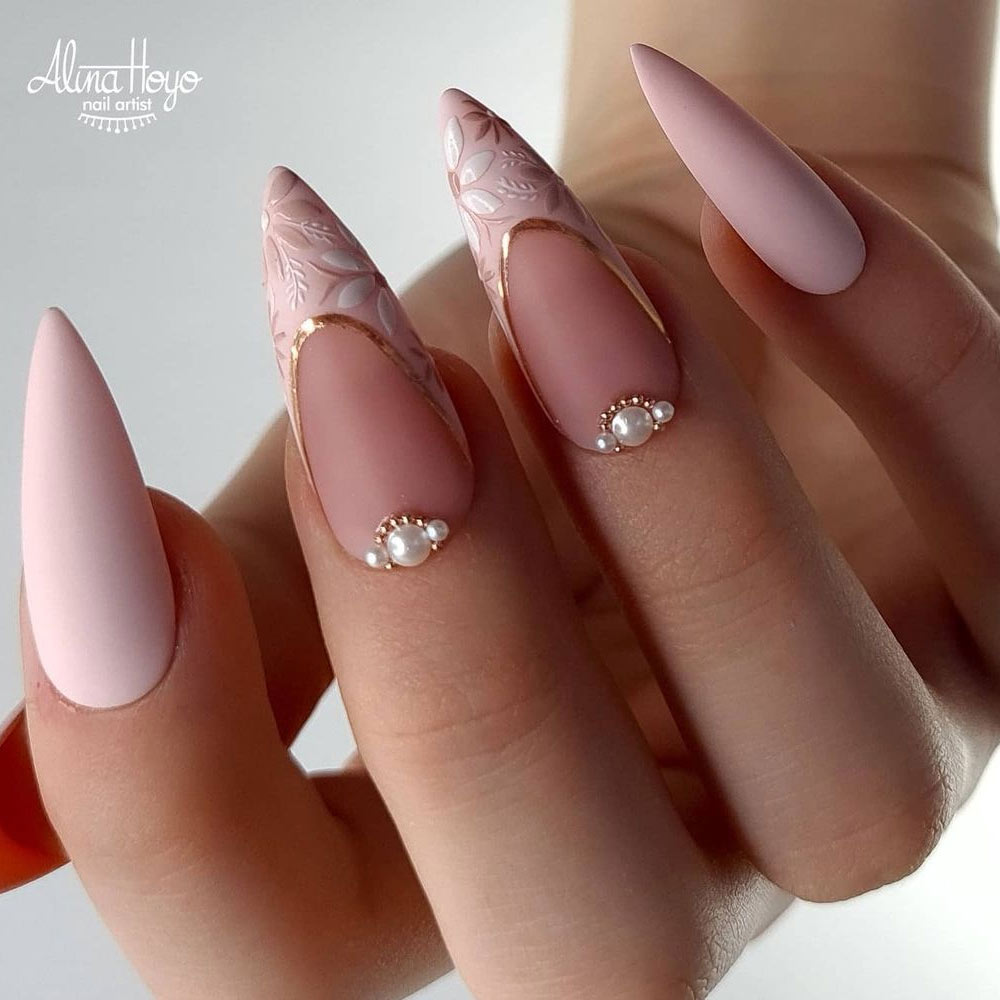
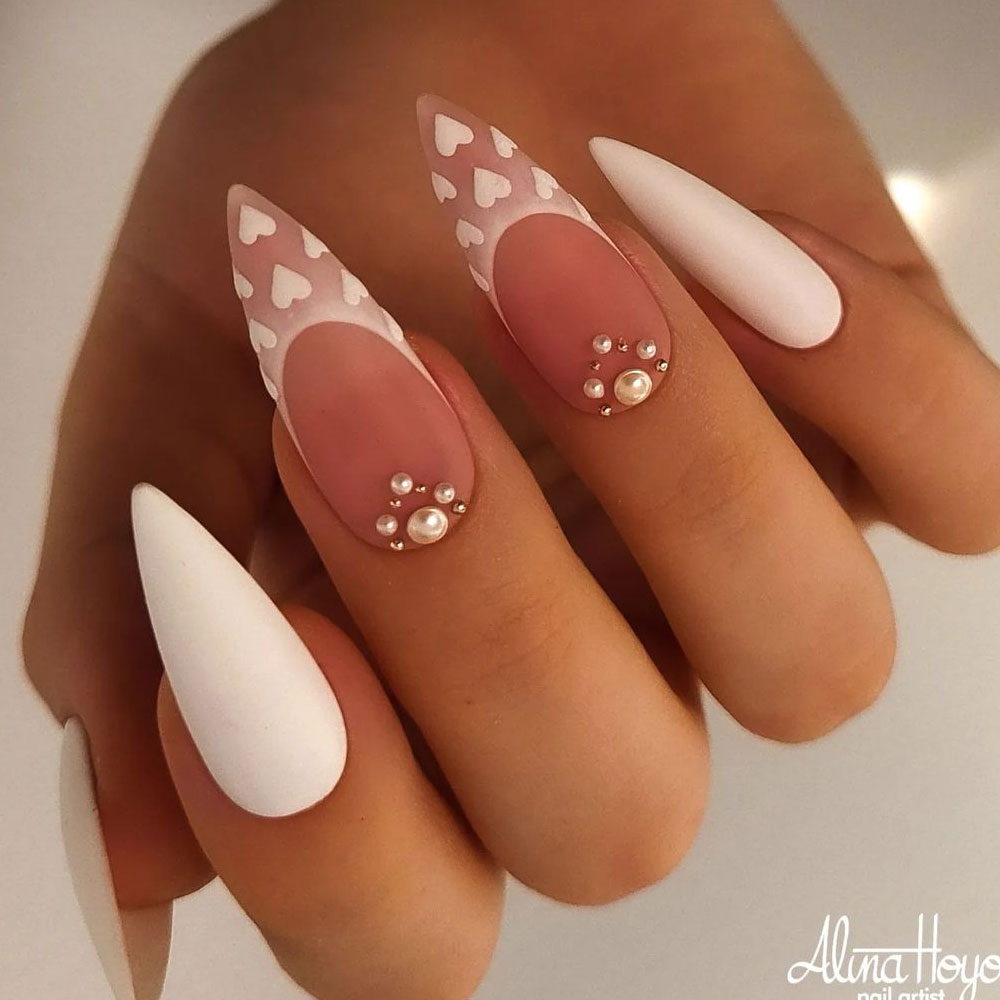
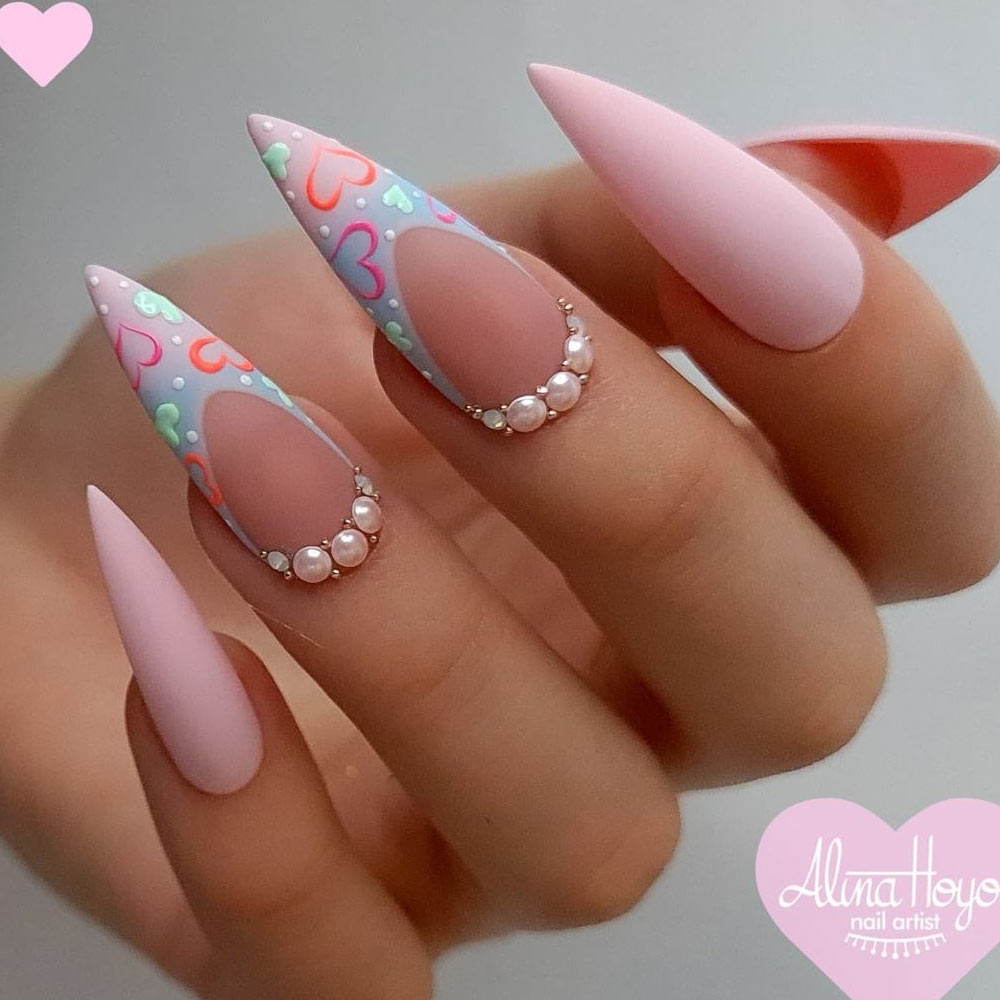
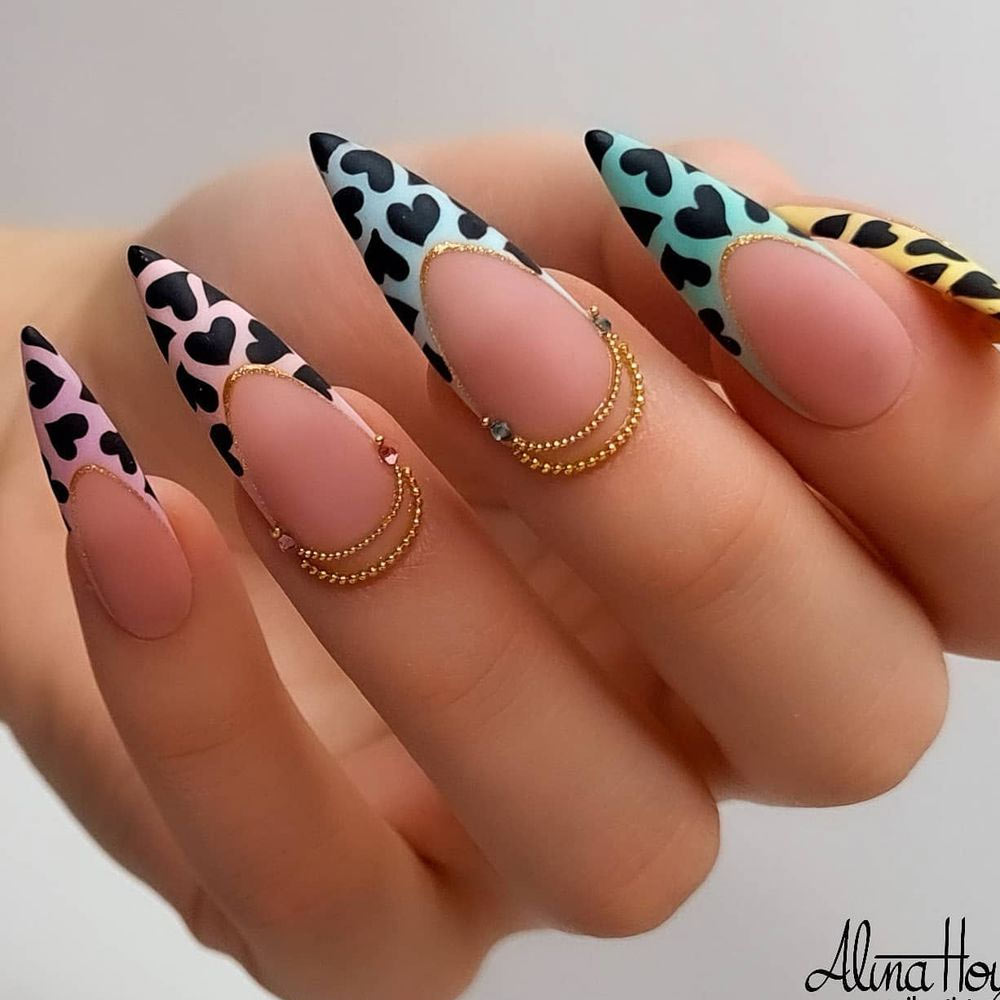
There are plenty of ways to create half moon nails designs. For instance, you can use rhinestones and microbeads instead of a nail color. This manicure style comes out more luxurious and ornate, so it may not fit a formal ambiance. Though, if you do not have any dress code restrictions, you can never go wrong with it.
Reverse Half Moon Nails
Long acrylic nails offer plenty of space for manicure experiments. As such, rather than a classic half moon nail style, you can try its reverse variation. Choose bolder and more vivid shades for the half moon shape. Purple half moon on nails or red half moon nails guarantee that your mani will not go unnoticed.
Half Moon Nails with Patterns
While normally you would fill in the half moon shape with a solid color, this is not always the case. Why not elevate your manicure by adorning the half moon shape with an intricate pattern? The style and color are up to your personal preference. You can go for anything from light pink or blue half moon nails to deep burgundy or even black half moon nails.
With half moon nails, your manicure always looks charming and attractive. So, do not be surprised if people ask you for a closeup of your nails. Take care to follow our advice to make the most out of your mani style.
Was this article helpful?


